DIY Safe Room
In this guide, we are going to look at how to make a safe room within your home. A safe room also called a panic room is simply a reinforced room that can provide a safe shelter. This room will be what keeps you safe during any number of disasters or home invasion.
Safe rooms can be traced right back as far as the Middle Ages when castles had what was known as a “castle keep“. This was a room that was located in the deepest part of the castle and was designed so the feudal lord could hide during a siege. In the US, in the 1920s, hidden rooms stored Prohibition-banned liquor. Safe rooms designed for weather protection have their origins in storm cellars.
Not everyone has the money to be spending on a custom made safe room for their home but it is still important to have an area that offers both safety and security for you and your family. Once completed, stock the room with food, water, and other essentials in case you’re stuck for an extended period of time.
The good news is that you don’t have to be a master builder either. Even someone with limited building skills can still significantly improve their safety and security with a little DIY.
For the safe room to effectively serve its purpose, it is important that you do the proper planning first. You need to make sure that it’s built correctly and will not place the occupants inside at risk.
- What is the intended purpose of the safe room?
- How many people would it be able to accommodate?
- How much space do you need?
- What is your budget?
Much could be written about what you need to consider before starting work in your safe room. FEMA has a great pdf available at the following link to get you started: fema.gov
The pdf linked to above will give you the information you need on the potential risk, structural design criteria, design considerations, proper air filtration, and many more considerations that will keep you and your family safe.
Choosing Your Safe Room
The cheapest option for making a safe room is to use an existing room within your home. You need to choose an internal room without windows and with walls that do not share the outdoors. This room should ideally be on the ground floor. An example of a good room would be a large walk-in closet. Remember, you are not necessarily looking at comfort, you are looking at safety.
If the only room you have available has a window then you should remove it and replace it with plexiglass to prevent shattering. If it’s important for you to have a window in your safe room, make sure to build it small enough so a burglar could not get through it.
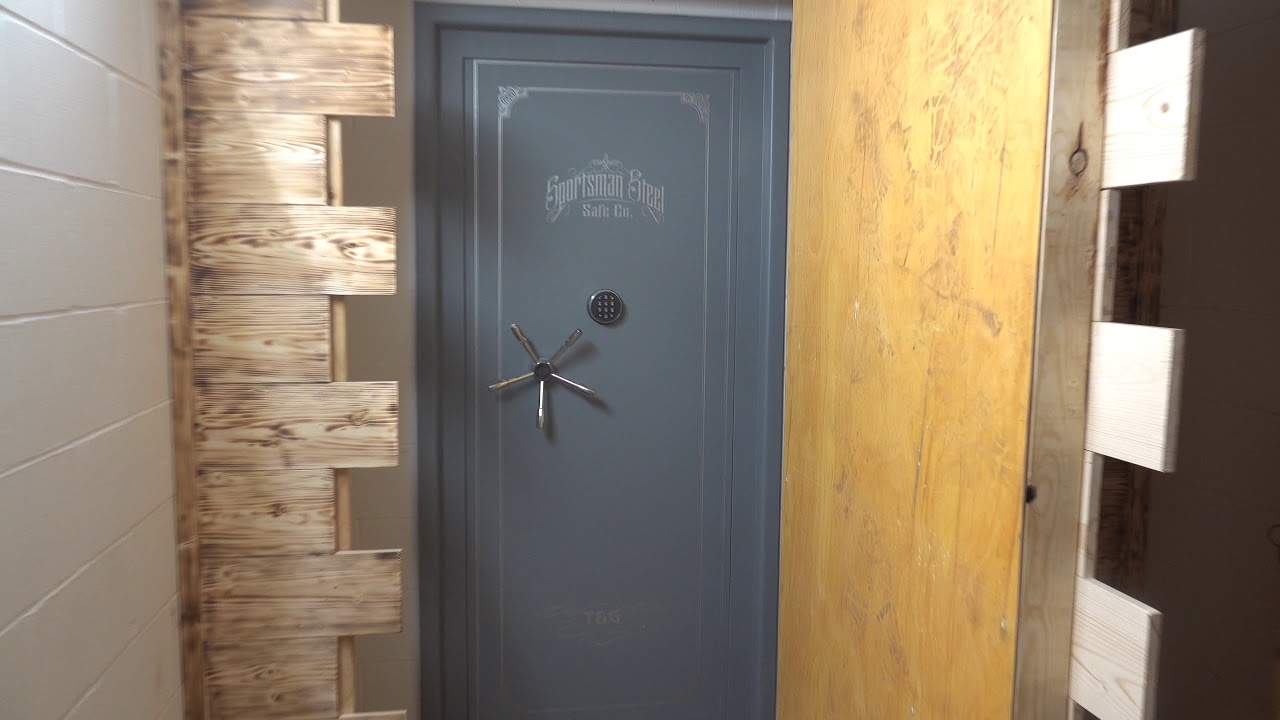
Vault Room Doors
The first thing that we need to look at is swapping out the existing door. You need one that can stand up to kicks and bangs from home intruders as well as high winds. This door should also open inwards as opposed to outwards. If there is a heavy storm and debris starts piling up outside the room, you won’t get out if the door opens outwards.
The door needs to be replaced with solid wood or heavy steel door. Along with this, be sure to also replace the door jamb with a steel one and replace the surrounding wood with steel angle iron. Reinforce both sides of the door with metal for added security and a multiple deadbolt setup.
The hinges should also be swapped out for one’s using longer screws.
Locks
If the door is wooden, you need to reinforce the wood around where the locks will be with metal strike plates. It is recommended to use deadbolt locks and you have the option of the traditional or keyless options. I would personally go for a keyless deadbolt so that you don’t have to be searching for keys in a hurry.
Because this room is going to be where you are during a disaster or home invasion, you need to remember to install the locks on the inside of the door. If you go down the traditional route, make sure to make extra copies of the keys and keep them in easily accessible locations within the home.
Walls & Ceiling
Using an existing internal room as your safe room means that you will need to reinforce the walls and ceiling also. This means that before going any further you will need to rip out the existing drywall and pour concrete into the space between the 2x4s in the walls. Plywood or strand board can then be screwed to either side of the 2x4s. Cover this with drywall and paint. You can also adapt existing wooden-walled rooms by reinforcing the inside walls with steel sheathing or steel mesh.
If you want that extra bit of security you can opt to screw steel sheeting to the 2x4s instead of, or even over the plywood.
The ceiling can also be done with steel sheeting but chances are, in a home invasion, the intruders won’t even think about coming through the ceiling but disasters don’t care how they get in.
Kevlar is another good option for lining the walls as it is lightweight and can be attached to the walls very easily.
Stocking Up
Once the building side of things is done, it is time to move on to stocking the room with useful items. If you are using the room as a safe room against disasters then you will not know how long that you may need to be in there. Food and water should be high on your list of items to stockpile.
A battery-operated (with spare batteries), or hand-crank radio will allow you to stay tuned to what is happening locally if your power is out without having to leave the safety of your room. In case of power outages, you should also keep a torch with spare batteries at hand too. Extra things to consider include:
- First aid kit with any medications that your family or group may need. This includes any that your pets may need too.
- Blankets and extra clothing.
Communications
Once inside the room, you are going to need some way of communicating with those on the outside. Most people carry mobile phones now but consider using a ham radio or a buried landline.